
The document server is designed to easily post and maintain documents of the collaboration. The documents can be either talks and presentations, papers, internal notes or theses. The files may be uploaded for protected (collaboration internal) or public (www) use.
There are several ways to enter the administration level of the document server. Either one uses the link ->Doc.WebAdmin when using the internal collaboration pages of the PANDA web (which brings you to the main BuildWeb administration page where you click on <Create/Change Documents>.
After clicking on <Create/Change Documents> you will be forwarded to the following page:

Fig. 2.1: Welcome screen of the adminsitration page of the document server.
On the welcome screen of the document server you will find two options: either create a new document or change an existing one. To find an already existing document entry one may use the author browser or the event browser. In the first case you can list all documents of a specific author/speaker and in the second case you will find all documents associated witha specific event like a meeting, workshop or conference.
If you want to create a completely new document (or in BuildWeb terms a new database record) you have to specify a few things to setup your entry. This is illustrated in the next figure. You need to enter the date for the document (for a talk, this should be the date of the talk or for a conference the first day of the conference and for a paper the date of submission) and an author of this document. For a Panda publication, use Name=Panda and First Name=Collaboration, for a detector subgroup use Name=Panda and First Name="subgroup". Then select the type of document and proceed to the next step: Edit Document. There you can give more details and upload the document(s).
After clicking on the <Create New Document> button you can create a new database record.
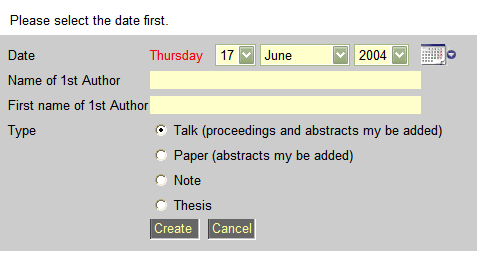
Fig. 2.2: Document creation dialog.
The document form consists of three parts: the header - with all informations about the author, the event, the title, location and dates, a hidden header - which contains details about the storage of the information (for debugging purposes) and the part for uploaded files.
The header is always visible, while the others have check bottons to disable their view. This is for ease of readability. If you want to upload files and/or specify some details just check the buttons and the form will enlarge.
After creation or selection of a document record, the following form appears.
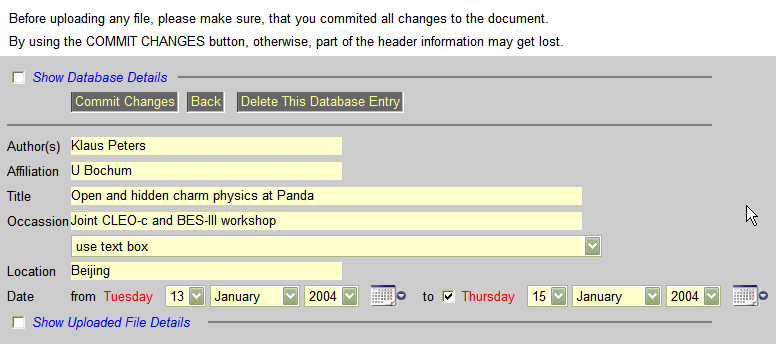
Fig. 2.3: Document header.
The header form contains three buttons. One is to commit your changes, one to return and the last one to delete this document. Be carful to do this, this cannot be undone.
It also contains all static information related to this document, like author, title, occasion, dates etc.. While you can have only one header, you may have many files related to this document, either as different parts of the document and/or as different versions.
You may upload the files for the abstract, the slides, the proceedings, the paper, the note or the thesis (or for some of them you may just give links to them).
After checking the <Show Uploaded File Details> option the following part is appended to the form.
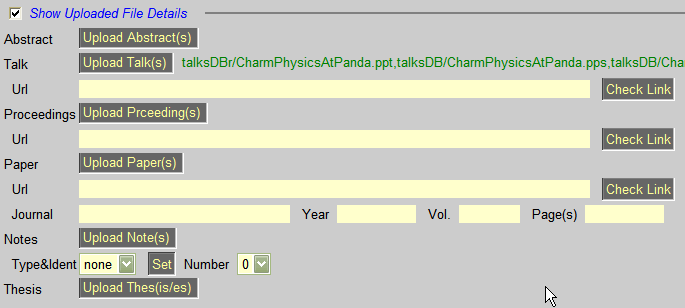
Fig. 2.4: Uploaded file details. Apart from file uploads and links, also journal and note identification tags are available.
Talks (Slides), proceedings and papers may be uploaded (as many files as you like) or you may give one link to them. All other files have to be uploaded to be stored in the database. When uploading the file you have the choive between public or restricted access. Restricted means that only people with a valid authorization account can download/read the file. This should be used for any internal information. You may consider also restricted access for you powerpoint or star-office or keynote files, while the pdf (acrobat) files should be tagged as public.
For reference purposes papers require the information about the journal, the publication year, the number of the volume and the papge numbers. Internal notes need to have an identification number, please use <Type&Ident> to select the type of note (at the moment: ANA=analysis, BTG=beam/target/magnet, COM=computing, DRC=dirc, EMC=electromagnetic calorimeter, FWD=forward detector, MUO=muon detector, MVD=microvertex detector, ORG=organisation, PHY=physics, RCH=rich, TRK=outer tracking) and the number.
If you check the <Show Database Details> option, you will see the filename, where the information is actually stored. This is for debugging purposes only and should not bother you.

Fig. 2.5: Document database details show the actual file on disk.
In the unlikely event to delete a document database record, you can use the <Delete> button in the header. You will be asked to confirm your decision.
After clicking the <Delete> button you will be asked for confirmation.
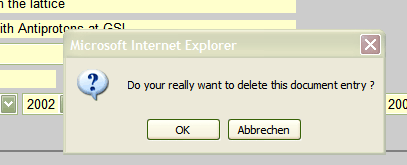
Fig. 2.6: Delete confirmation dialog.
The file upload dialog differes from other upload dialog forms of the BuildWeb system by having the choice between public and restricted access. This means, that files tagged as restricted will only be accessible to people inside the collaboration.
Apart from this, the usage is easy: just select your local file to be uploaded and proceed with <Upload>. To avoid duplicate names, each file is preceeded with the date from the database and the initials of the authors.
After clicking on any upload button you will get to this form.
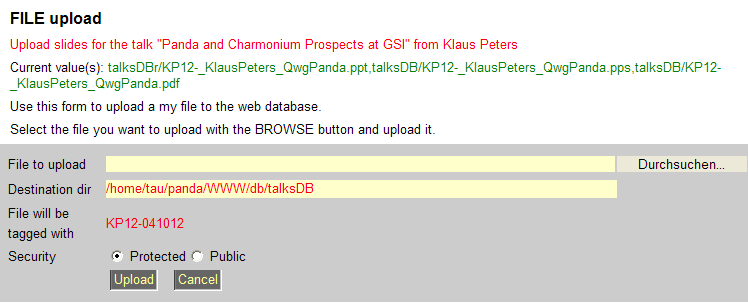
Fig. 2.8: Document upload dialog.
After successfully uploading the file you will get a success message.
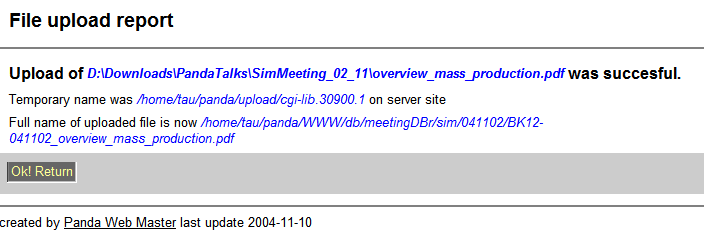
Fig. 2.9: File upload success dialog.
If the document exists already, but you want to alter the information stored, use the <Change Existing Document> buttons. To easily navigate to the desired document, choose the selection either <by Author> or <by Event>.
After clicking <Change Existing Document (Select by Author)> you will get to this form.

Fig. 2.9: List of all authors, sorted alphabetically.
If there are more than one author for a document, the same document will appear for each of the authors.
After clicking <Change Existing Document (Select by Event)> you will get to this form.
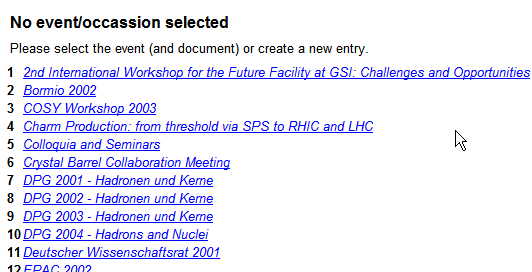
Fig. 2.10: List of all events, sorted alphabetically.
Having selected the author or the event you can now choose the particular document which looks very similar in both cases.
After selecting the author you will get to this list off documents.

Fig. 2.11: List of all talks/papers/notes of an author.
Just click on the desired talk to proceed to the Edit Document dialog.
abc