
The meeting server is designed to easily maintain the information on meetings, their content in terms of agendas, minutes, travel details and presentations. Everybody of the collaboration can add to this pool of information. Either by allocating a new meeting or by just by uploading the files for her/his presentation.
There are several ways to enter the administration level of the meeting server. Either one uses the link ->Mtg.WebAdmin when using the meeting pages of the PANDA web (which brings you to the main BuildWeb administration page where you click on <Create/Change Meeting/Slides> .
After clicking on <Create/Change Meeting/Slides> you will be forwarded to the following page:

Fig. 3.1: Welcome screen of the meeting server.
You may select (just select a meeting type and a date) or create (select a meeting type and press a meeting. You can also create a new type of meetings or the defaults for a type of meetings (this information is then automatically added to each meeting of that type).
To access a specific meeting one may use also the <EDIT> button on the web agenda of a particular meeting. In that case you are forwarded directly to the database record of this meeting.
Use the header of a meeting and click <EDIT> to go to the server page:
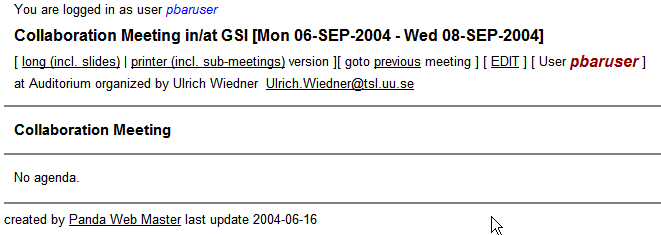
Fig. 3.2: Meeting entry in the PANDA web space. The title of the meeting (name, location and date) is followed by a list of buttons. You may choose a different display style (like long which includes the links and lists all submeetings, or short which just lists this meeting without links, or a printer version which shows all submeetings but also without links). You also may choose a subsequent or preceeding meeting of the same kind or you can edit the meetings agenda and/or upload information like slides and/or minutes.
The look of the meeting agenda in the long version is depicted in fig. 3.3, the look of the short and printer version are shown in fig. 3.4.
abc
TEXT
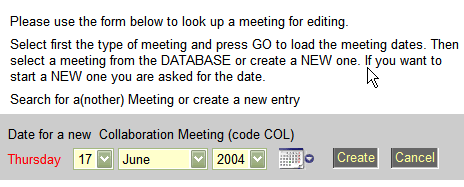
Fig. 3.18: ...
abc
TEXT
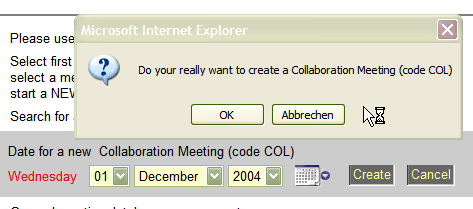
Fig. 3.5: ...
abc
TEXT

Fig. 3.20: ...
abc
TEXT
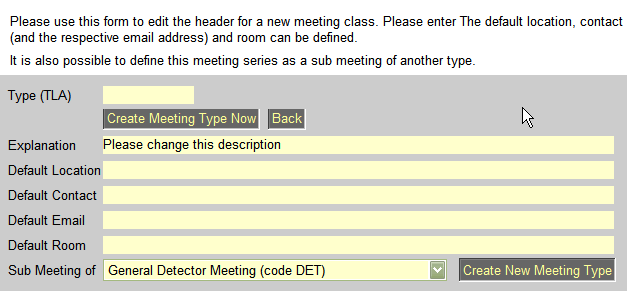
Fig. 3.19: ...
abc
abc
TEXT
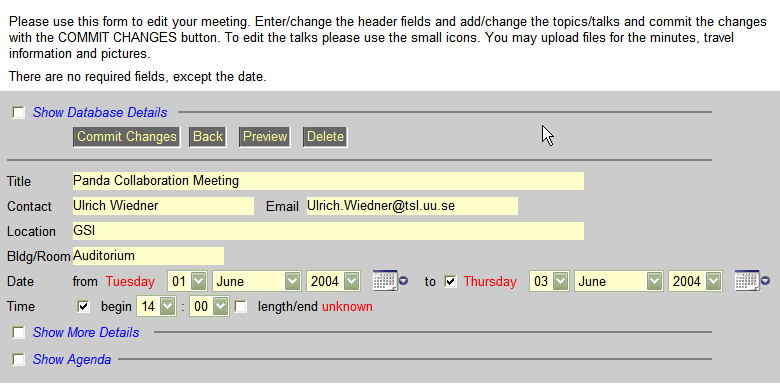
Fig. 3.9: ...
abc
TEXT

Fig. 3.13: ...
abc
TEXT

Fig. 3.7: ...
abc
TEXT
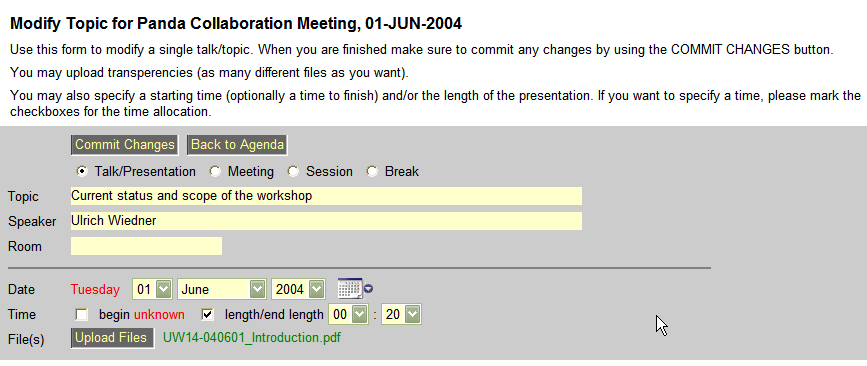
Fig. 3.12: ...
abc
TEXT
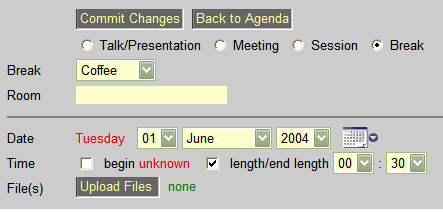
Fig. 3.8: ...
abc
TEXT
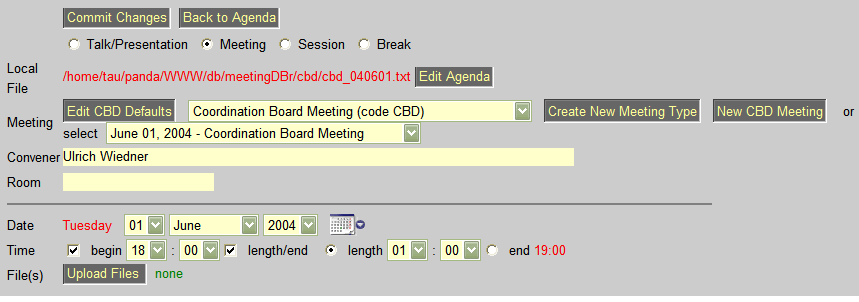
Fig. 3.11: ...
abc
abc
The presentation upload dialog is very simple, just select your local file to be uploaded and proceed with <Upload>. To avoid duplicate names, each file is preceeded with the date from the database and the initials of the speaker.
After clicking on any upload button you will get to this form.
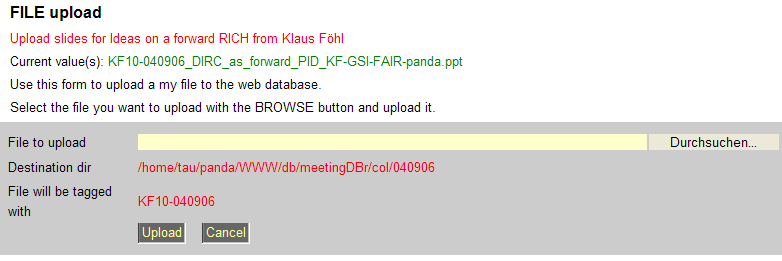
Fig. 2.8: Presentation upload dialog.
After successfully uploading the file you will get a success message.
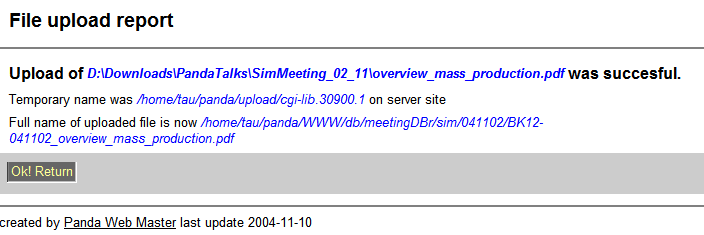
Fig. 2.9: File upload success dialog.
TEXT

Fig. 3.16: ...
abc
TEXT

Fig. 3.15: ...
abc
TEXT

Fig. 3.16: ...
abc
TEXT
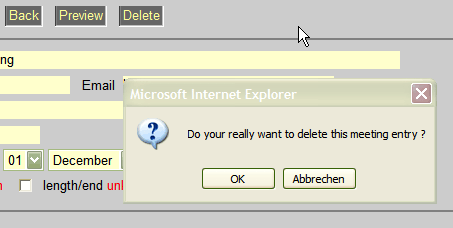
Fig. 3.6: ...
abc
TEXT
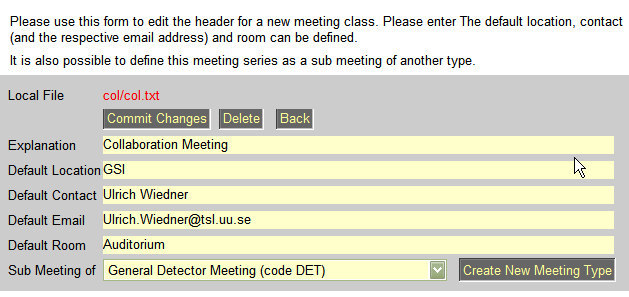
Fig. 3.10: ...
abc
TEXT
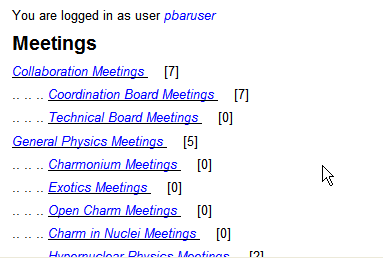
Fig. 3.22: ...
abc
TEXT
[missing image]
Fig. 3.21: List of all meetings of one type. The most recent and forthcoming meetings are listed first.
abc
TEXT

Fig. 3.21: Example agenda for a particular meeting. Use the options in the headline to choose various looks of the agenda and/or to swithc to other meetings.
abc
TEXT
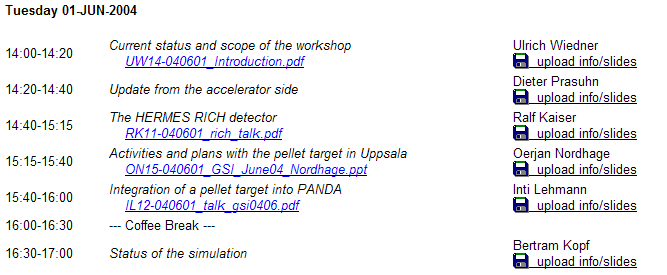
Fig. 3.3: The look of the PANDA meeting agenda for the option long. All uploaded files are shown as links. In addition all entries for submeetings are linked to the particular webpage of this meeting.
abc
TEXT

Fig. 3.4: The look of the PANDA meeting agenda for the option short or printer. All uploaded files are shown as links. In addition all entries for submeetings are linked to the particular webpage of this meeting.
abc
abc
abc