The news server is designed to easily post and maintain important news for the collaboration.
There are several ways to enter the administration level of the news server. Either one uses the link ->Notes.WebAdmin when using the internal collaboration pages of the PANDA web (which brings you to the main BuildWeb administration page where you click on <Create/Change News> .
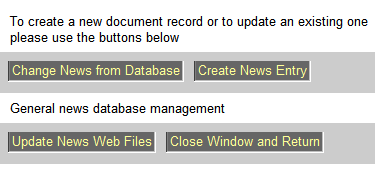
After clicking on <Create/Change News> you will be forwarded to the following page:

Fig. 4.1: News server welcome screen.
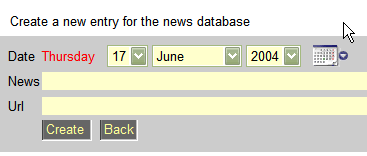
To create a new (manual) entry in the news database, just press <Create News Entry> and you will get to a form, where you can enter the data, the headline and a link to a web page.
After clicking <Create News Entry> the following form will appear.

Fig. 4.2: News form. Give a date, a title and a link.
Use the <Create> button to commit your information to the database.
Since news may change or might be obsolete one may select news from the database for update or deletion. To do so, please use the <Change News Entry> button on the welcome screen.
After clicking on the <Change News Entry> button you will see a list of news. Select the entry you want to edit/delete.

Fig. 4.3: News selection form.
After successfully selecting the news entry. You can now change its details or delete it. If you update it, don't forget to commit the changes by pressing <Commit>. To delete the entire record use <Delete>. It may happen, that the external link is no longer valid, to check if the link is still alive use the <Check link> button.
After selecting the news entry, you'll get to the news editor.

Fig. 4.4: News editor.
..