The phonebook server is designed to easily maintain the information on institutes and members. Everybody of the collaboration can access and change the information.
There are several ways to enter the administration level of the phonebook server. Either one uses the link ->Phonebook.WebAdmin when using the collaboration pages of the PANDA web (which brings you to the main BuildWeb administration page where you click on <Create/Change Phonebook> .
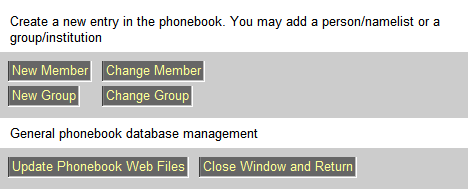
After clicking on <Create/Change Phonebook> you will be forwarded to the following page:

Fig. 5.1: Welcome screen of the phonebook server.
The phonebook server can host individuals and institutes. Therefore one may create new entries or change existing records of either insitutes and/or individuals. The record may contain not only phone numbers and an email address, but also photos/logos.
If you want to modify your personal database record, please proceed by using the <Change Member> button. First a list of institutes appear in a drop down list. Please select your institute like in the following figure.
After clicking on <Change Member> you will see a list of institutes, please select yours.

Fig. 5.2: Select your institute.
Having selected your institute you will get a list of members who belong to the insitute. Choose your name and press <Select>.
After choosing the institute, now choose the name of the person from a drop down list.

Fig. 5.3: Select the person.
After successfully selecting the person you can now edit your entry using the Edit Entry form
If you want to modify the database record of your institute itself. Use the button <Change Group> and select the institute from a drop down list as in the previous case.
After clicking gon the <Change Group> button you'll see a drop down list with all institutes in the dateabase.

Fig. 5.4: Select an institute.
After selecting the institute you can proceed to change it using the Edit Entry form.
After choosing the person, you can edit the personal record which consists of the name, address, email address, web address, member status and a picture.

Fig. 5.5: Personal phonebook form.
Please make sure that all changes are committed to the database by using the <Commit> button. The <Back> button returns to the previous page. If you want to upload a picture, please use the <Upload new Picture> button. Since there is only one picture allowed per person, any new upload will automatically replace the old picture. If you want to get rid of any picture, use the <Delete Picture> button.
After choosing the person, you can edit the institutional record which consists of the name, address, email address, web address, status and a logo.
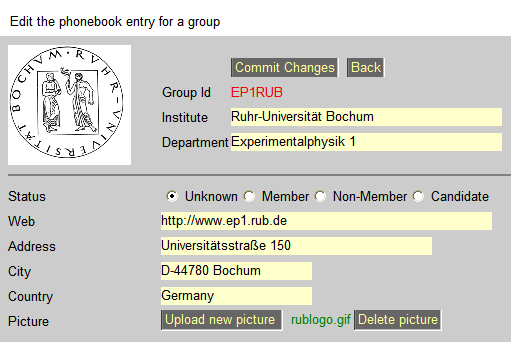
Fig. 5.6: Institutional phonebook record.
Please make sure that all changes are committed to the database by using the <Commit> button. The <Back> button returns to the previous page. If you want to upload a logo, please use the <Upload new Picture> button. Since there is only one picture allowed per person, any new upload will automatically replace the old logo. If you want to get rid of any logo, use the <Delete Picture> button.
The picture/logo upload is simple. You choose your local file and start the upload.
After clicking on any upload button you will get to this form.

Fig. 5.7: Picture/Logo upload dialog.
After successfully uploading the file you will get a success message.
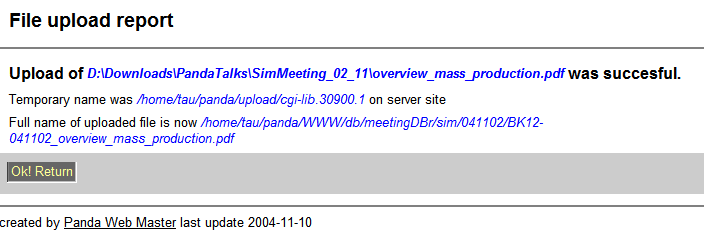
Fig. 5.8: File upload success dialog.
If you want to add a new entry to the database, either a person or an institute. Use the appropriate buttons at the phonebook server welcome screen.
After clicking <New Member> you get the following form, where you have to indicate just the name and the first name.
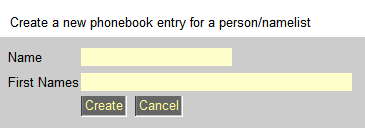
Fig. 5.9: Create personal entry form.
After clicking <Create> this information is added to the database and you may edit all details in the Edit Entry form.
After clicking <New Group> you get the following form, where you have to indicate just the institute and the department.
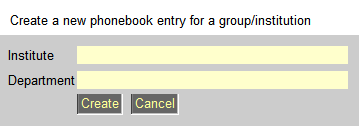
Fig. 5.10: Create institutional entry form.
After clicking <Create> this information is added to the database and you may edit all details in the Edit Entry form.
...